
UE側の設定
※ここからはプロジェクトの作成からやっていくので問題ない人はプラグインの導入まで飛ばしてもらって構いません。
新規プロジェクトの作成
まずは新規プロジェクトを作成します。
使用するテンプレートはどれでも構いませんが、プロジェクトの設定でブループリントではなくc++で作成をお願いします。
※今回はモバイルをターゲットとしていますがここも特に関係ないのでなんでもOKです。
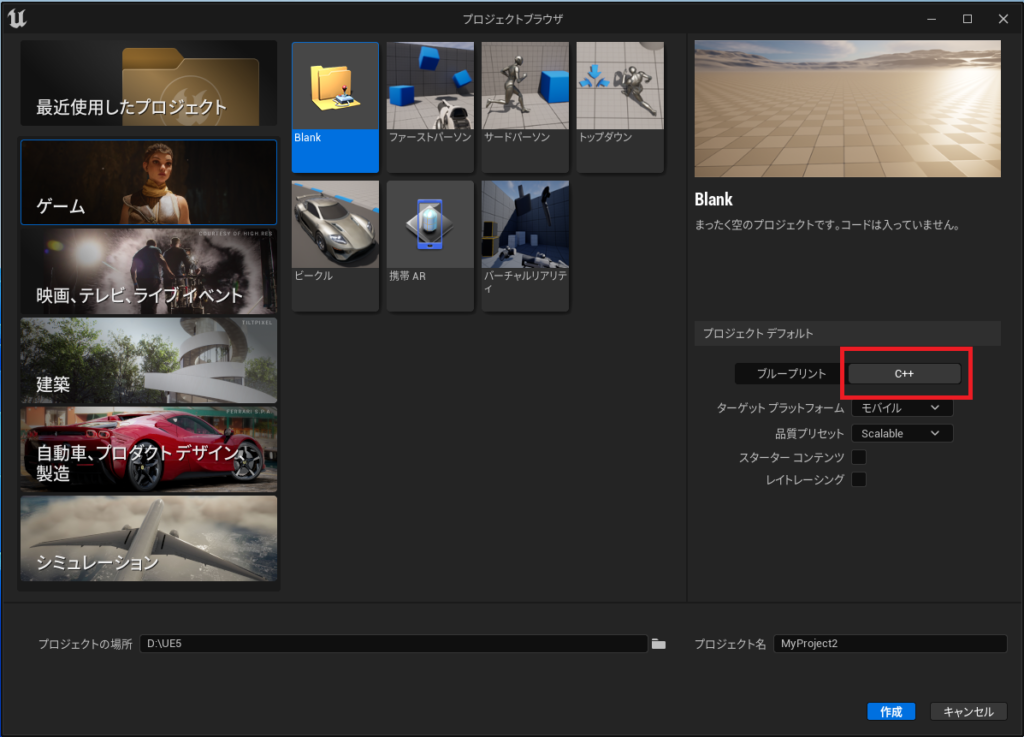
作成をするとVisualStudioが起動しながらプロジェクトが起動すると思います。
プラグインの導入
プロジェクトが出来たので、まずプラグインを読み込ませます。
プロジェクトとVisualStudioを終了して、先ほど作成したプロジェクトフォルダを開きます。
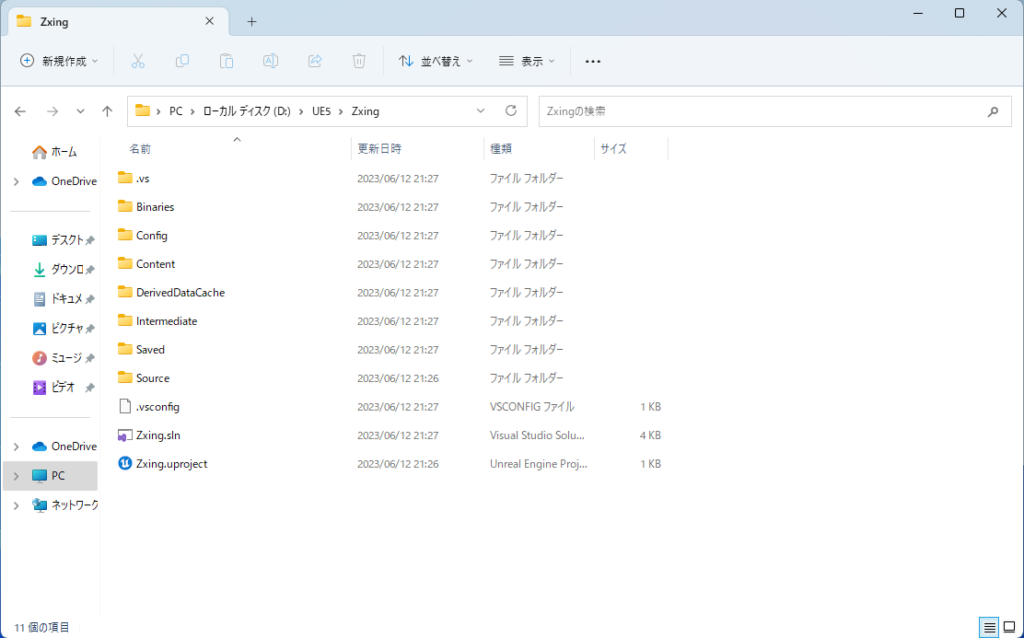
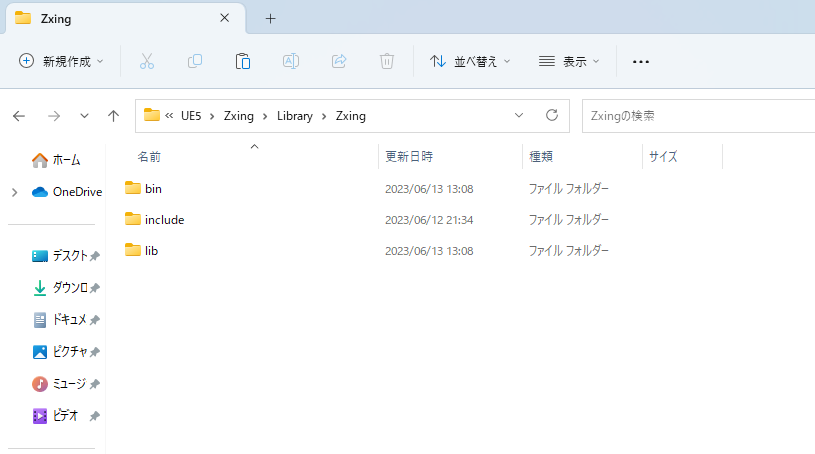
ここに「Library」フォルダを作成します。
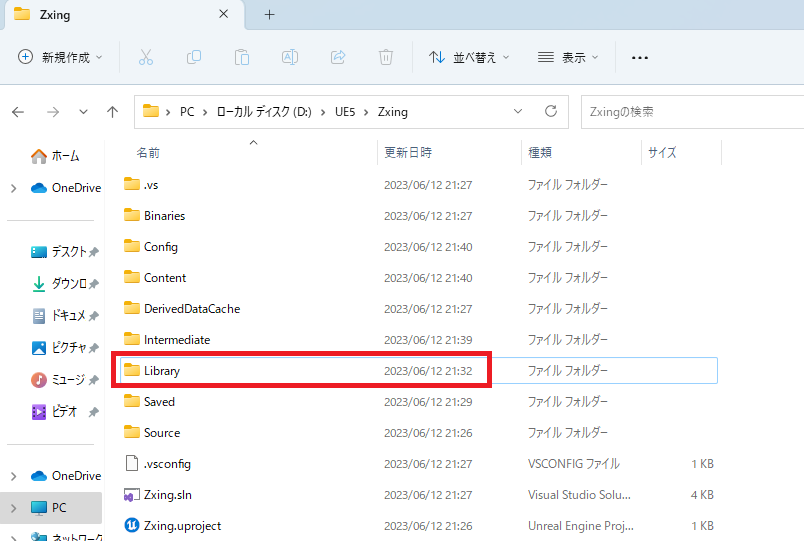
「Library」フォルダ内に「Zxing」(プラグイン名)フォルダを作成して、
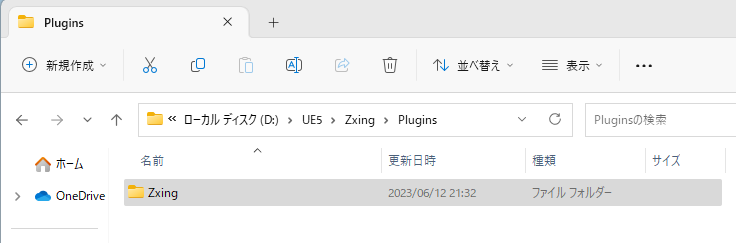
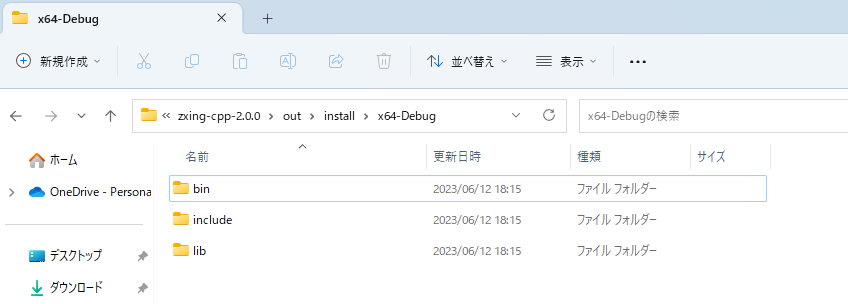
Zxingをビルドしたときにできた「bin」「Include」「lib」フォルダをコピーします。
(libの中身のCmakeフォルダとbinの中身の.exeは削除してください)
↓
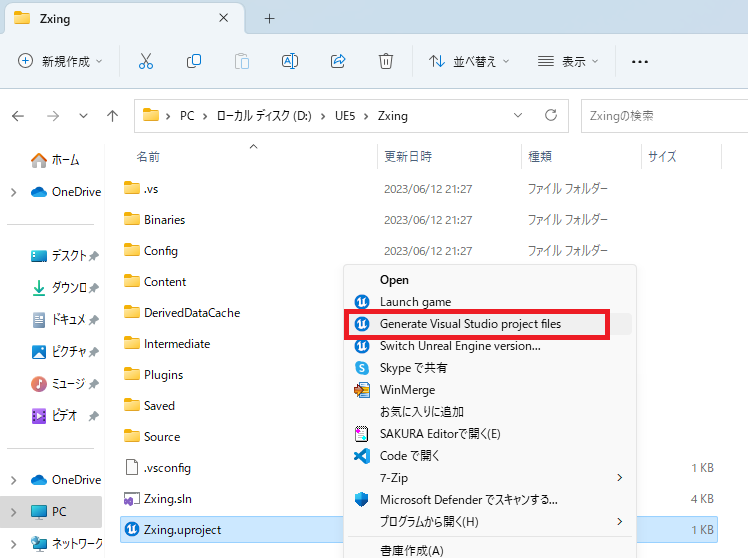
コピーが終わったら.uprojectを右クリックして、「その他オプションを表示」(Win11)をクリックして、「Generate Visual Studio project Files」を実行します。
(いらないと思うが念のため)
.slnを開いてVisualStudioを起動させます。
ソリューションエクスプローラーから「Game」→「(プロジェクト名)」→「Sorce」→
「(プロジェクト名).build.cs」を開きます。
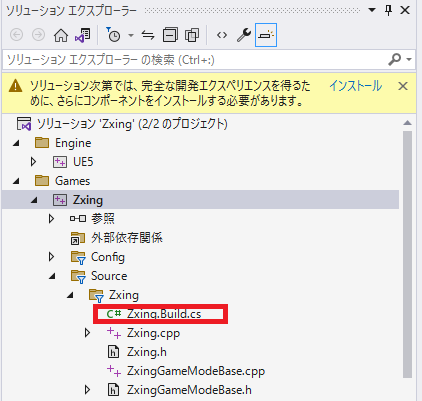
ここにlibを読み込むプログラムを記載します。
まずはすべての前提となるフォルダまでのパスを取得できるGetを記載します。
/// <summary>
/// LibraryまでのPathを追加する
/// </summary>
private string LibraryPath
{
    get { return Path.GetFullPath(Path.Combine(ModuleDirectory, "../../Library/")); }
}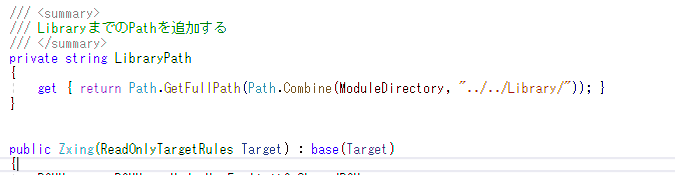
次にパスを読み込むプログラムを記載します。
// Zxingのパスを作成
string ZxingLibPath = Path.Combine(LibraryPath, "Zxing");
// Includeフォルダ内のパスを追加
PublicIncludePaths.Add(Path.Combine(ZxingLibPath, "include"));
// ライブラリを追加
PublicAdditionalLibraries.Add(Path.Combine(ZxingLibPath, "lib","ZXing.lib"));

// dllを追加
string ZXingDllName = "ZXing.dll";
string ZXingDllNameDllFullPath = Path.Combine(ZxingLibPath,"bin", ZXingDllName);
PublicDelayLoadDLLs.Add(ZXingDllName);
RuntimeDependencies.Add(ZXingDllNameDllFullPath);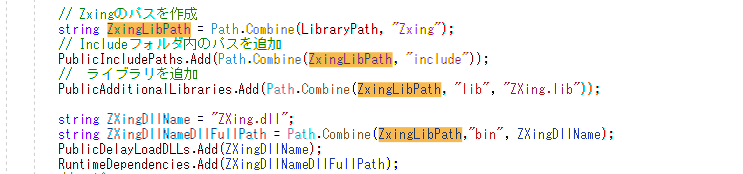
さらにdllのファイルをコピーする処理を追加します。
// Binaries以下にdll をコピーする
private void CopyDll(string dllName, string dllFullPath)
{
    if (!File.Exists(dllFullPath))
    {
        Console.WriteLine("file {0} does not exist", dllName);
        return;
    }
    string binariesDir = Path.Combine(ModuleDirectory, "../../Binaries/Win64/");
    if (!Directory.Exists(binariesDir))
    {
        Directory.CreateDirectory(binariesDir);
    }
    string binariesDllFullPath = Path.Combine(binariesDir, dllName);
    if (File.Exists(binariesDllFullPath))
    {
        File.SetAttributes(binariesDllFullPath, File.GetAttributes(binariesDllFullPath) & ~FileAttributes.ReadOnly);
    }
    try
    {
        File.Copy(dllFullPath, binariesDllFullPath, true);
    }
    catch (Exception ex)
    {
        Console.WriteLine("failed to copy file: {0}", dllName);
    }
}
これを最後に追加します
string ZXingDllName = "ZXing.dll";
string ZXingDllNameDllFullPath = Path.Combine(ZxingLibPath,"bin", ZXingDllName);
PublicDelayLoadDLLs.Add(ZXingDllName);
RuntimeDependencies.Add(ZXingDllNameDllFullPath);
// コピー
CopyDll(ZXingDllName, ZXingDllNameDllFullPath);
全体像はこんな感じ。
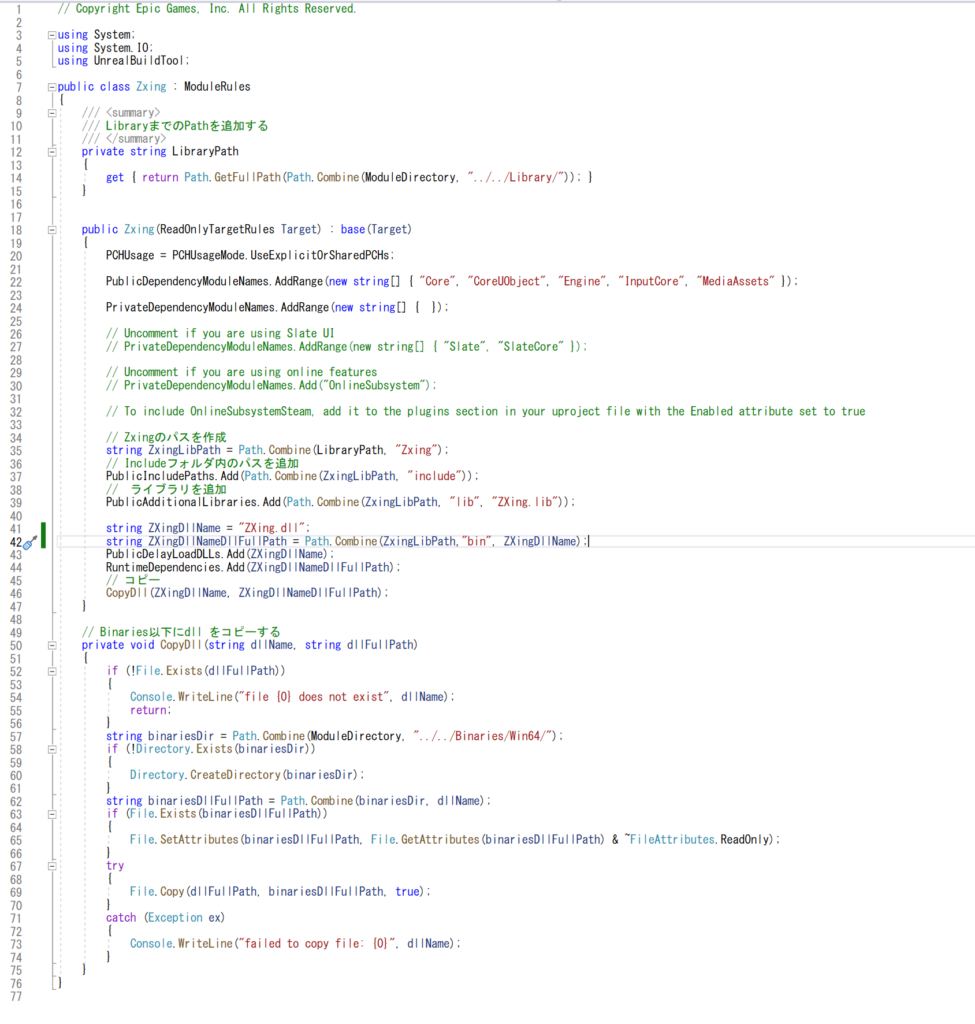
これでF5を押せばプロジェクトが起動できる(はず)
プロジェクトが起動出来たらC++クラスを追加して実際にデータの読み込みができるか確認してみます。
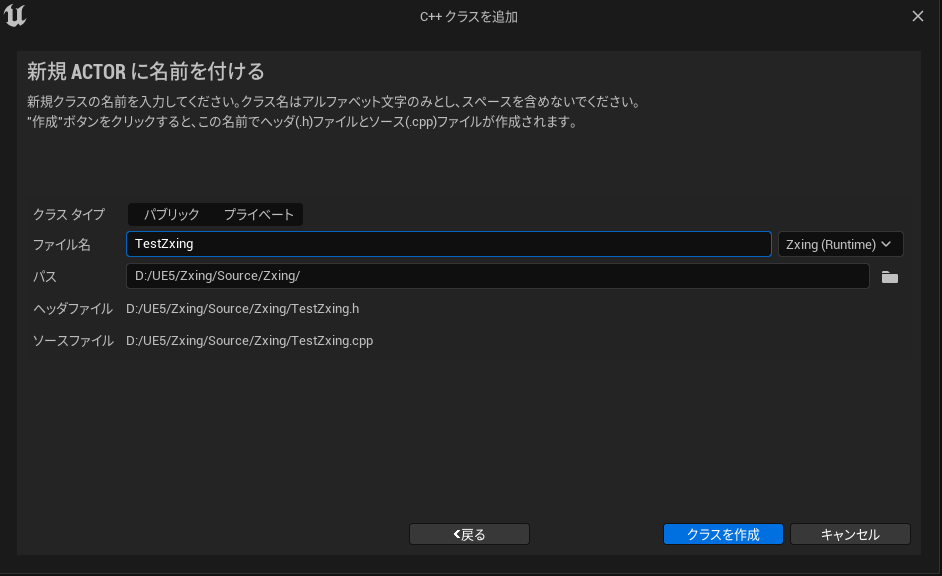
「ツール」→「新規c++クラス」をクリックします。

とりあえずテストなのでActorを親クラスとして作成してみましょう。
「Actor」を選択して「次へ」を押します。
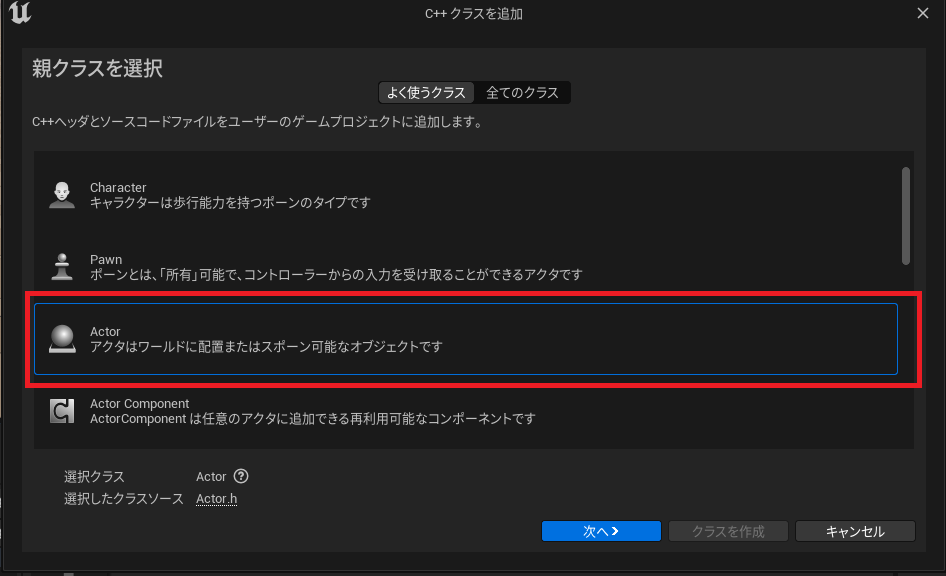
名前は何でもよいので適当につけてください。
その後クラスを作成を押してください。
(今回はTestZxingとしました)
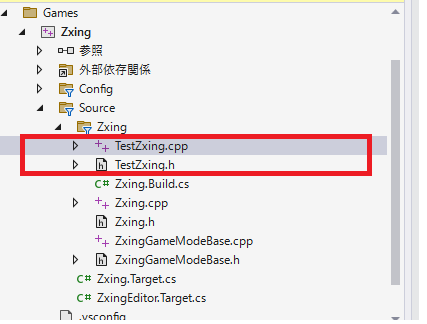
するとVisualStudio側に新しくcppとhのファイルが追加されると思います。
場合によってはライブコーディングが実行されると思うので、実行された場合は素直に待ちます。
ただ実行されたまま編集するのも面倒なのでいったんVisualStudioの実行を止めて、VisualStudioを終了して、.slnを再起動しましょう。
するとソリューションエクスプローラーに先ほど追加したcppとhが追加されると思います。
これでベースはできたので、次からは実際にブループリントで呼び出しができる関数を作成していきたいと思います。

コメント